*This post contains affiliate links, if you click a link I make a small commission and you help support the blog
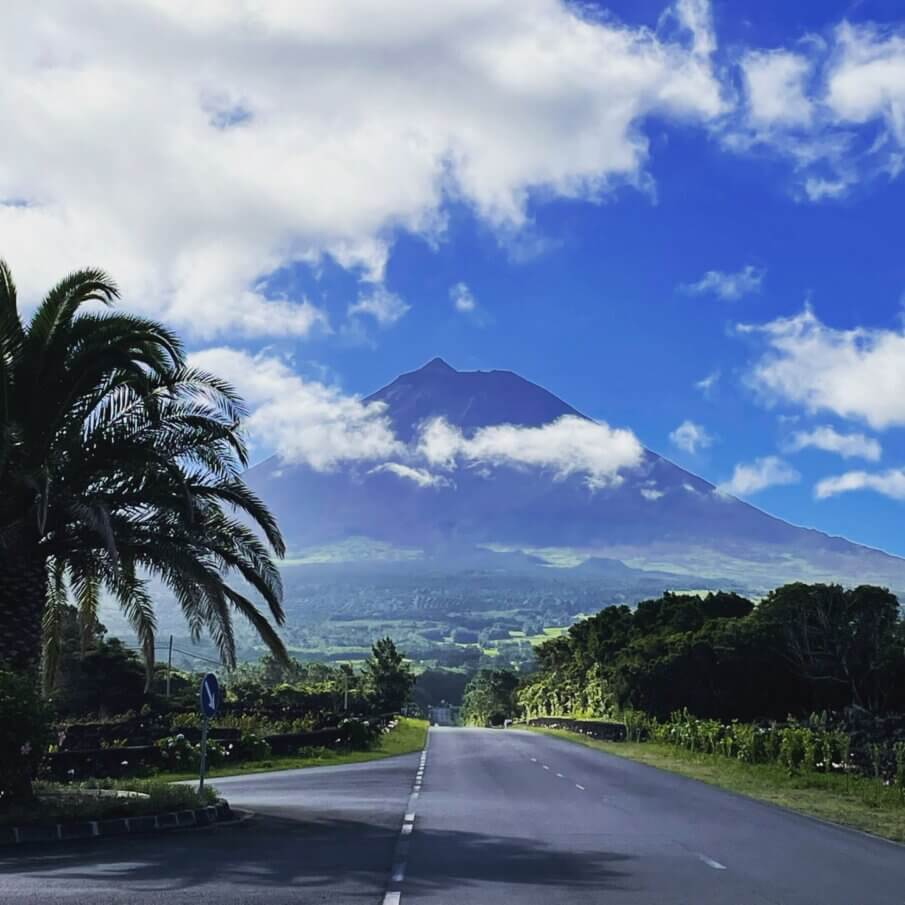
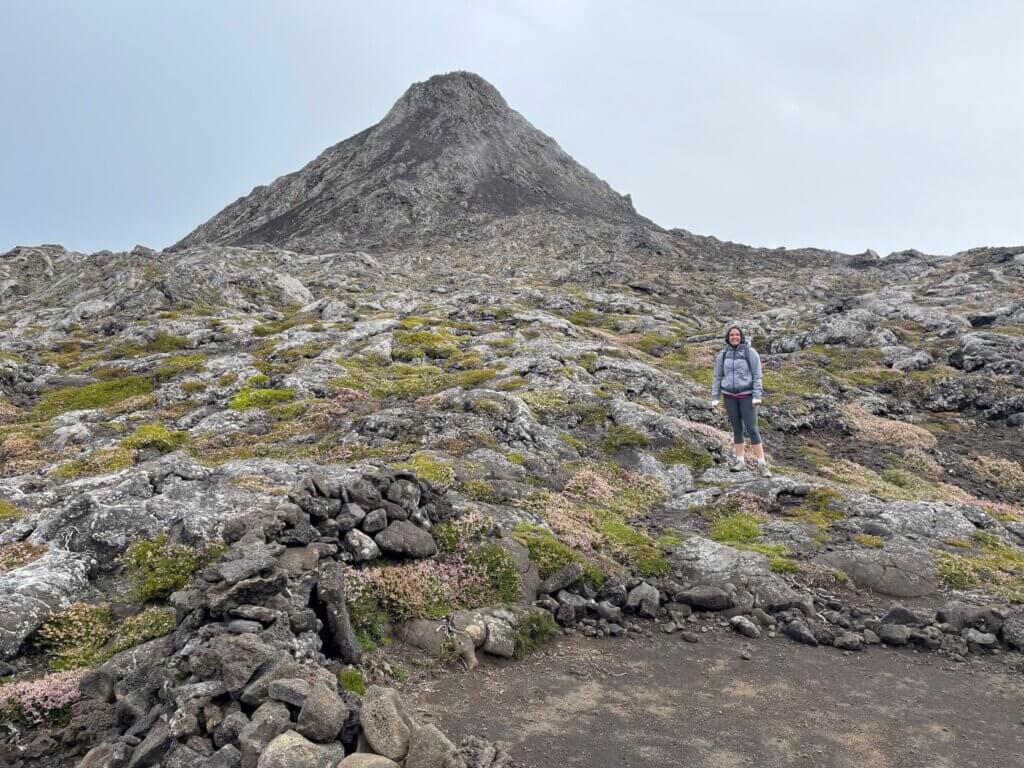
Mount Pico, located on Pico Island, is the highest peak in Portugal at 7,713-ft (2,351m) and the third tallest volcano in the Atlantic. Those stats alone are one of the main reasons people hike this formidable mountain and one of the reasons people flock to the Azores Islands. The other reasons for hiking it of course is for the unmistakably beautiful views and physical challenge.
This guide will help you plan for your success summit bid of Mount Pico, regardless if you do it alone or with local guides.
The Facts
As I said Pico is 2,351m (7,713-ft) tall.
It can take up to 9 hours, with an average duration of 7-9 hours to hike up and back. We completed it in 6 hours (just to give you some perspective, including a stop of lunch in the crater).
The trail is a 3.9-mile one way, out and back, difficult hike.
Your starting point will be at the casa da Montahna (the mountain’s house) at an elevation of 1,200m, where there is ample parking, or you can take a taxi from Madalena. It is also the best place to get the most up to date weather conditions for that day.
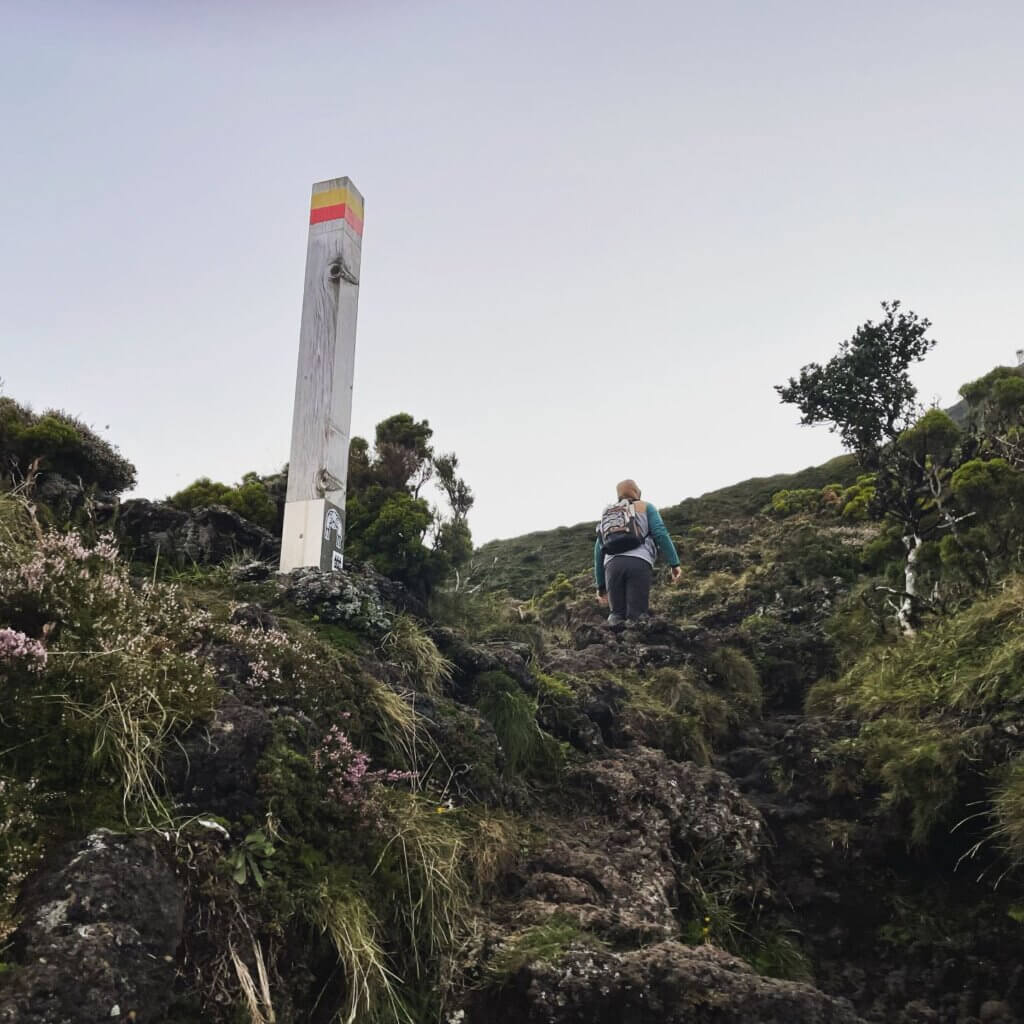
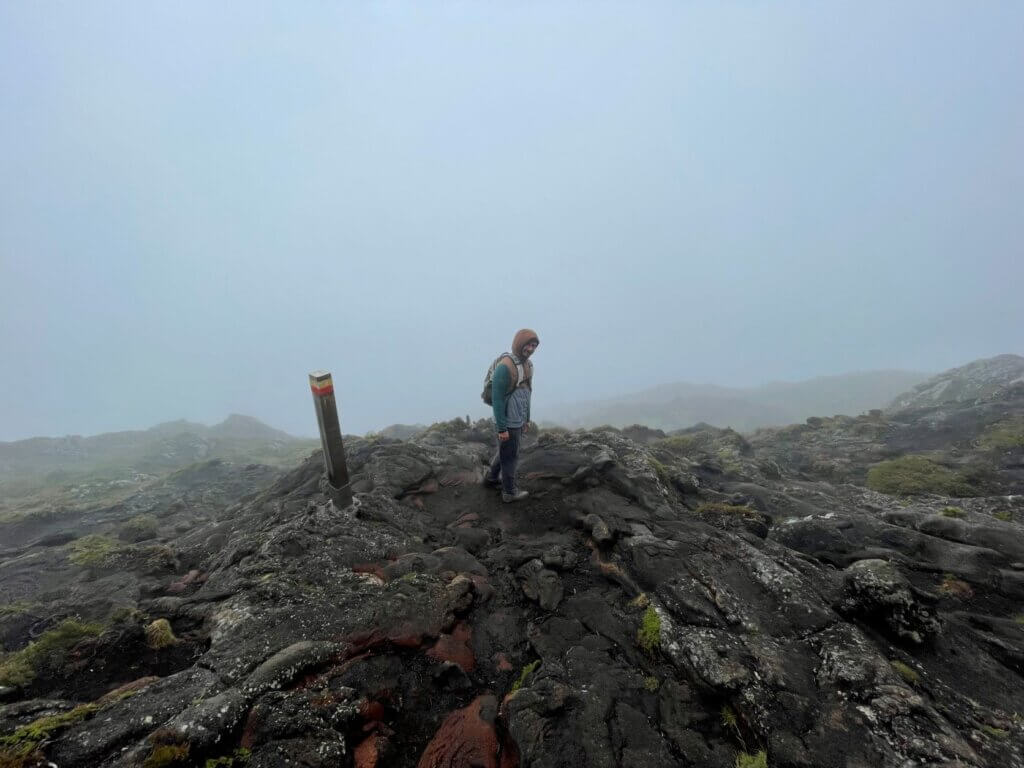
There are 47 markers along the official hiking trail. The distance between the first and the second one will take around 30 minutes or so, then the additional poles are each about 5 minutes hiking between. This follows the best route to the top of Pico Mountain, but you should be able to see the next pole ahead of you to help you stay on trail, with the exception of the second pole when you start. However, there is not necessarily one distinct trail, it’s in general just get from one pole to the next without going too far off course.
The mountain house is open 24 hours a day, however, when we arrived at around 6:30am, the staff were asleep, and they recommended we wait until the sun rose to be able to see the conditions on the mountain (it was really windy the day we climbed, and they were not sure that it would be safe for people to head out that day). But I still recommend you start early to give you ample time to get up and back.
They only allow 160 people on the mountain at any given time and a total of 320 per day, so during the summer months, which is the high season, make sure to apply early to get a spot.
You must reserve ahead of time. You can reserve online once you have picked the best day. The cost is 25 Euros per person, with an additional cost if you opt to use a guide, which you should book in advance as they only take small groups.
When you arrive
Once you arrive you will be checked in and given a briefing on what to expect while hiking. They will check to make sure you have plenty of water and snacks and will also check your footwear.
Then they will give you a tracker, which I thought was a great idea. In the Mountain House they have a big screen tv that shows where everyone is on the mountain based on the tracker data. If you go too far off the trail, they can call you using this tracker. If you get injured or need to contact them for assistance, you can also do that through the tracker. Just make sure you return the tracker at the end, otherwise you will be issued a fee.
From there you will head out the back door and start your journey up the mountain.
The hike up
What makes this hike so challenging, is not just the elevation gain, but the combination of unpredictable weather and trail make-up. It is a volcano, so the rocks are volcanic rock. If you so much as brush up against them you will scrape your leg.
There is also an insane amount of loose rock, which can make the hike down particularly dangerous if you are not careful. Trust me, I had a huge bruise on my butt thanks to a fall on my hike out.
Parts of the trail are safer if you crouch down and use your hands to help pull you up or safely get you down. By the end of the hike, I not only had a bruised butt and ego, I also had scrapes on my hands and legs from practically crawling over the lava rock.
The trail in the beginning is well traveled and easy to follow, which is good because the distance between the first and second marker will take you about 30 minutes. From then on you can see each marker ahead of you. Assuming the weather is good.
It becomes a fun game (in my opinion) of find the next marker and trek to that. Then find the next one and trek to that.
The crater and the little peak (Pequeno)
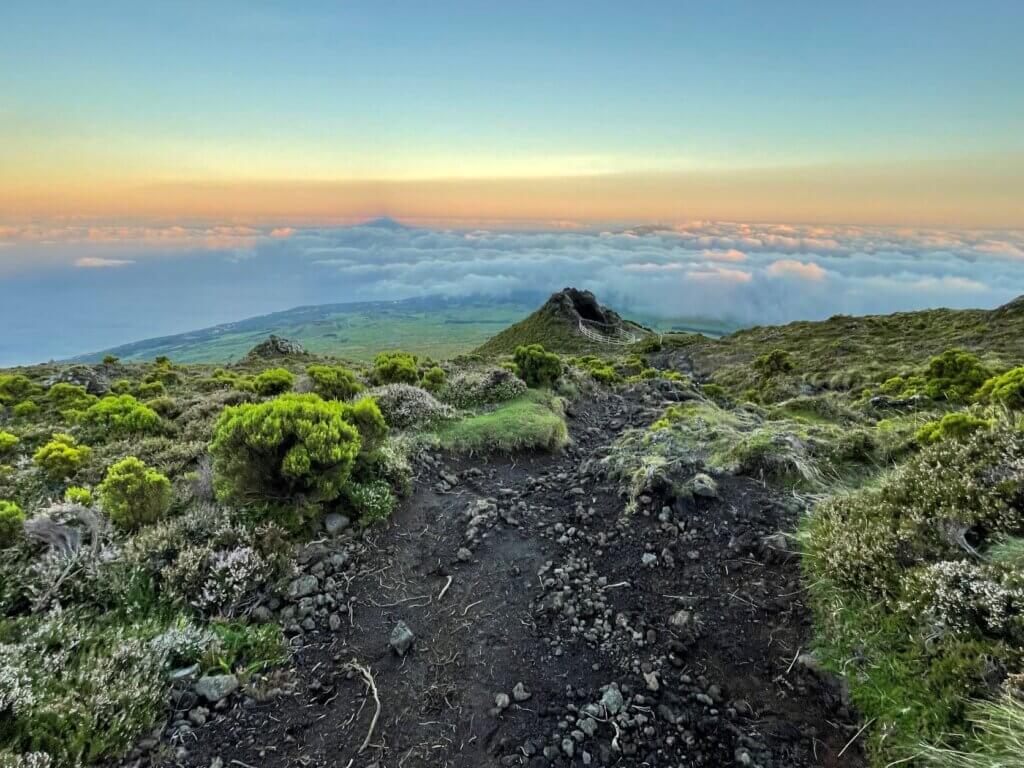
The 46th marker is right at the rim of the crater of the volcano, with the 47th inside the crater. Once you reach the crater you have the option of just hanging out there or going the extra approximately 20 minutes to climb to the very peak of Pequeno. It kind of looks like a small mountain inside the mountain and is the most challenging part of the climb.
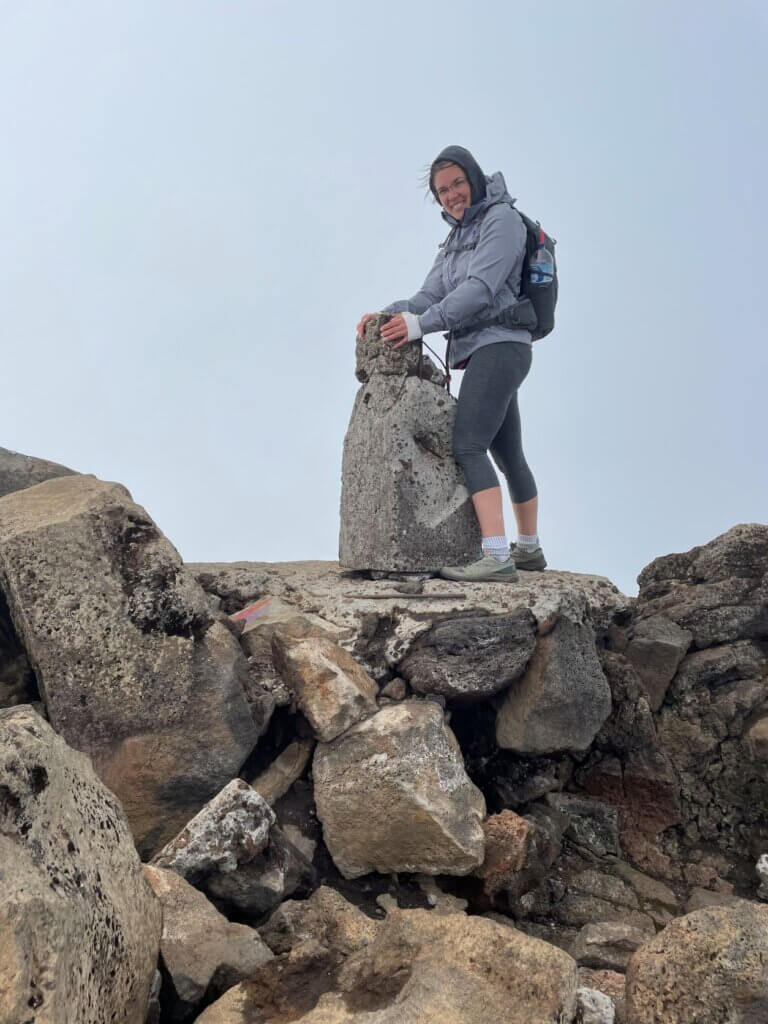
This part is an area where I used my hands the most. At the top there is a cement block signifying the summit and when you have clear skies you get 360-degree views.
As this is a volcano, there are some fumaroles on the top where warm air is emitted.
A word on the weather
As with any mountain they tend to create their own weather. It is always important to check the weather forecast ahead of time and the day of the climb. When you are deciding when to make your summit bid make sure to pick the best possible day. Even if the weather says it’s clear, it is still possible to get bad weather on your summit day. Knowing what time of year you are visiting makes this even more important as during the winter months or the shoulder season the island experiences a lot of rain. The best time, or course, is to visit during the summer months.
When we hiked, our best day said it was clear in the morning and clouded later in the day. It was certainly cloudy on our hike down and it wasn’t just cloudy, the cloud was wet, and we were dripping water by the time we reached the end.
So, make sure to dress appropriately and bring a good wind breaker/rain jacket.
How difficult is the hike?
This is a difficult hike. Not because of the elevation gain, though that should not be overlooked, but because of the combination or terrain and weather.
You should be in decent shape to hike this mountain. Having experience with hiking and climbing other mountains helps but then again, I still landed on my butt (more than once). The day we hiked the wind was wild. With gusts over 45 miles an hour and loose rock, the wind literally took my feet out from under me on more than one occasion.
It is recommended by the mountain staff that if the wind is extremely high on the day of your hike that you should not hike Pequeno because it is downright dangerous. I will say that the scramble up Pequeno is quite sheltered and was an area where we finally found some reprieve from the winds. The peak was a different story.
Do you need a guide?
You have an option to hike Mount Pico with a guide or without. On a clear day (or a mostly clear day) it’s relatively simple to go without a guide.
The benefit is they know the terrain well and if the clouds descend making it challenging to see one pole marker to the next, they are extremely helpful in getting you up and back safely.
There is an extra cost of using a guide and you will be going in a group. So, if you are not into relying on a group effort and want to go at your own pace, this might not be the option for you.
Having experienced the challenge of identifying the pole markers on the hike out, I can see how having a guide would make things much easier.
What to bring with you?
Some key items you should consider bringing with you:
- 1 ½ – 2 liters of water
- Snacks or a lunch (or both, definitely both)
- Rain jacket or windbreaker (this was key for me)
- Layers (it gets pretty cold up there, particularly on a cloudy day)
- Headlamp (depending on your start time or finish)
- Small first aid kit (just in case, I recommend this for all hiking adventures)
- Hiking poles (I really wished I had of packed my poles for this trek and totally regretted not bringing them)
- ID and your reservation
- Hat and gloves (I also wish I had brought these due to the cold winds whipping that day)
Overnighting on Mount Pico
There is also the option to spend the night in Mount Pico’s crater. When you arrive in that area you can see where rocks have been moved to create camping sites.
This can be done with or without a guide as well. You will need to bring additional gear with you of course, including your tent, sleeping pad and bag. It will cost you around 120 Euros.
You will start your hike a little later in the day, generally around 4pm (this is where a headlamp might come in handy). It’s one of those once in a lifetime experiences where you can watch the sunrise from the top of Portugal’s highest mountain.
Concluding Thoughts
Climbing Mount Pico is a challenging climb that humble you and is the ultimate Azorean challenge. I am humbled every single time I hike a mountain, whether it’s one of New Hampshire’s 4,000 footers, Mount Katahdin in Maine, or Mount Pico. I am reminded of the majesty of these mountains and natures forces. Physical preparation and understanding your limits are always recommended before attempting to climb these rugged places.
Summiting mountains such as Mount Pico is certainly an unforgettable experience with breathtaking views and leaves you wanting more (and maybe also a cold beer or two).
Heading to the Azores? Make sure to grab a copy of my guidebook The Azores: A guide for hikers.

Comments
Gearing up for a trip to climb Pico Mt in Azores. This post is is a terrific post and scares me a bit 🙂 We are going in May 2025 and working on getting in a bit better shape between how and then.
I saw you mentioned hikes in New England states. We have hiked Katahdin, and Adams (in White Mountains) for comparison. This looks like terrain may be the biggest challenge, along with altitude. Hopeing we have good weather for the small window of days that we are there.
Author
If you have climbed Katahdin and Adams (which I have also hiked both) you will be fine. Just try to pick the best weather window and wear sturdy shoes (either trail runners or a good pair of hiking boots, both work). Good luck and enjoy it, this hike is truly awesome.